Your Guide to Professional CD Duplication
When you need CDs made, but don’t need thousands of them, CD duplication is your answer. It’s the process of burning your audio or data onto blank, recordable CDs, much like you would on a home computer, but on a highly professional scale. This method is the perfect fit for anyone needing a small batch of discs—think fewer than 500 copies—done quickly and without a huge upfront investment.
Why CD Duplication Still Matters
In an age of streaming and cloud storage, you might wonder if CDs are still relevant. The short answer? Absolutely. For countless musicians, small businesses, and creators, the compact disc remains an incredibly effective way to connect with an audience and distribute their work. It’s all about choosing the right tool for the job.
Think about it. You’re a band about to head out on a week-long tour and realize you need 100 albums for the merch table. Or maybe you’re a photographer delivering a wedding gallery to a client and want to provide a beautiful, physical backup. In these situations, you need a professional-grade product turned around fast, without ordering thousands of units you don’t need. That’s precisely where duplication shines.
Speed and Affordability for Smaller Projects
The biggest draw for CD duplication is how well it works for smaller quantities. The alternative, CD replication, is a full-blown industrial process that involves creating a glass master to physically stamp out thousands of discs. It’s fantastic for major label runs, but it comes with significant setup costs and minimum order requirements.
Duplication skips all that. We burn your content directly from your master files onto high-quality blank discs. This means you can order the exact number you need, whether that’s 25 discs for a presentation or 300 for a local music release. It keeps your budget in check and ensures you aren’t left with boxes of unsold inventory.
At its core, the difference is all about scale. Duplication is your go-to for speed and small batches, acting like a specialized print-on-demand service for CDs. Replication is the heavy machinery, built for mass production where the per-unit cost plummets, but only with a large initial order.
Before we dive deeper, it’s helpful to see a direct comparison. Here’s a quick rundown to help you decide which service is the right fit for your project.
CD Duplication vs CD Replication at a Glance
| Feature | CD Duplication (Burning) | CD Replication (Pressing) |
|---|---|---|
| Best For | Small runs (under 500) | Large runs (500+) |
| Turnaround | Fast (1-5 days) | Slower (7-14 days) |
| Process | Burning data with a laser | Stamping discs from a glass master |
| Cost Per Disc | Higher for small quantities | Lower for large quantities |
| Setup Cost | None | Yes (for the glass master) |
| Disc Type | CD-R (Recordable) | CD-ROM (Read-Only Memory) |
This table makes it clear: if your project is time-sensitive and requires a smaller number of discs, duplication is almost always the more practical and cost-effective choice.
A Tangible Connection in a Digital Age
Beyond the logistics, a physical CD offers something a digital file just can’t: a tangible connection. Handing someone a professionally packaged disc is a memorable gesture. For a music fan, it’s a piece of merchandise that directly supports an artist they love. For a potential client, it’s a lasting, professional impression of your brand.
This isn’t just nostalgia talking. The global CD market is still valued at USD 1.23 billion, proving there’s a real, sustained demand. This is especially true for promotional materials and limited-edition releases that appeal to dedicated fans and collectors. You can find more market analysis on platforms like Global Growth Insights. Far from being obsolete, the CD remains a powerful, strategic tool when used correctly.
The CD Duplication Process From Start to Finish
So, how do your finished tracks or data files get onto a stack of professional-looking CDs? It might seem like a complicated process, but it’s really a straightforward partnership between you and the duplication company.
Your job is to get the key ingredients ready—the master audio and the artwork. Their job is to take those ingredients and use some pretty sophisticated equipment to create perfect copies. It’s all about making sure the vision in your head translates perfectly to a physical product your fans or clients can hold.
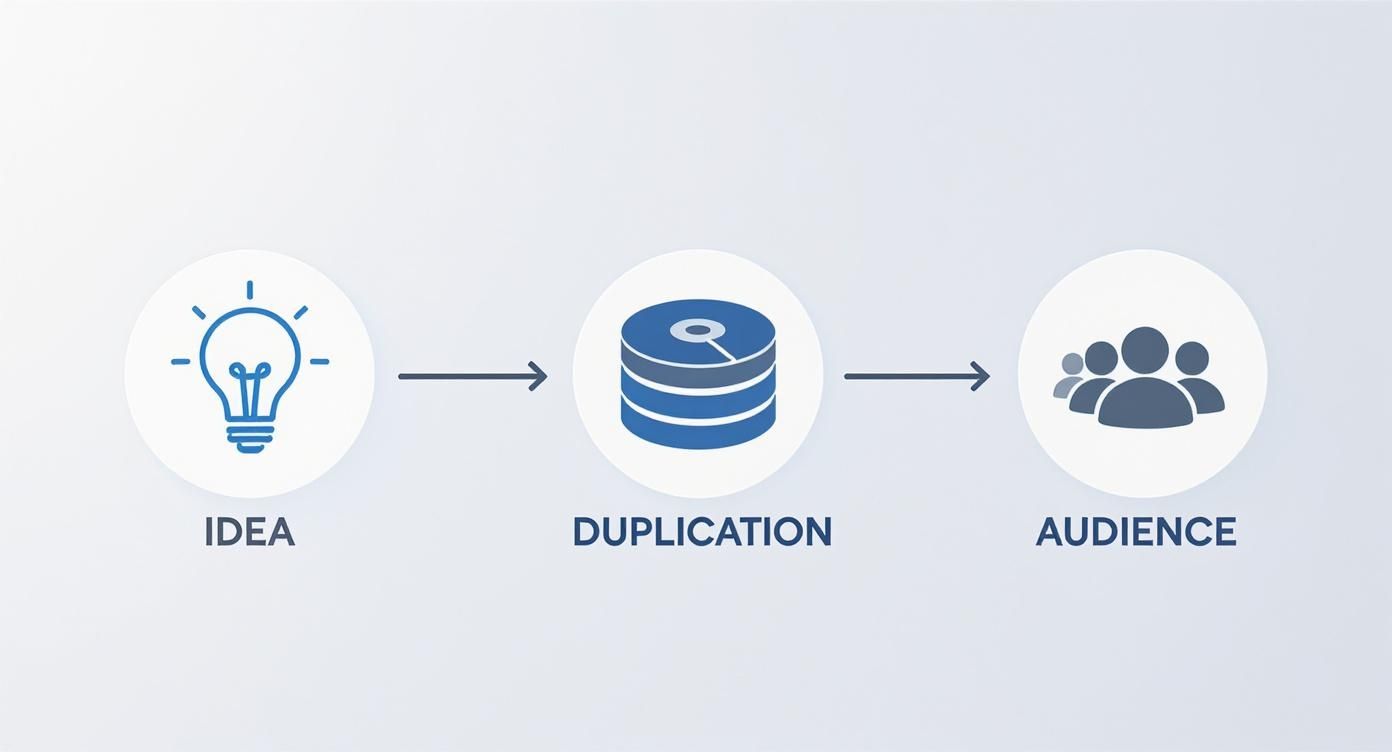
This graphic gives you a bird’s-eye view of the journey, showing how duplication services turn your creative work into a finished, distributable product.
Your Essential Preparation Steps
Before any discs get burned, it all starts with two things you have complete control over: the master and the artwork. Honestly, getting these two elements right is the most critical part of the whole process.
- Finalize Your Master Files: Think of this as the “gold copy” of your project, whether it’s a music album, a piece of software, or company training materials. For musicians, this means making sure every track is professionally mastered, they’re all in the right order, and the whole thing is saved in a high-quality, lossless format like WAV or as a DDP image.
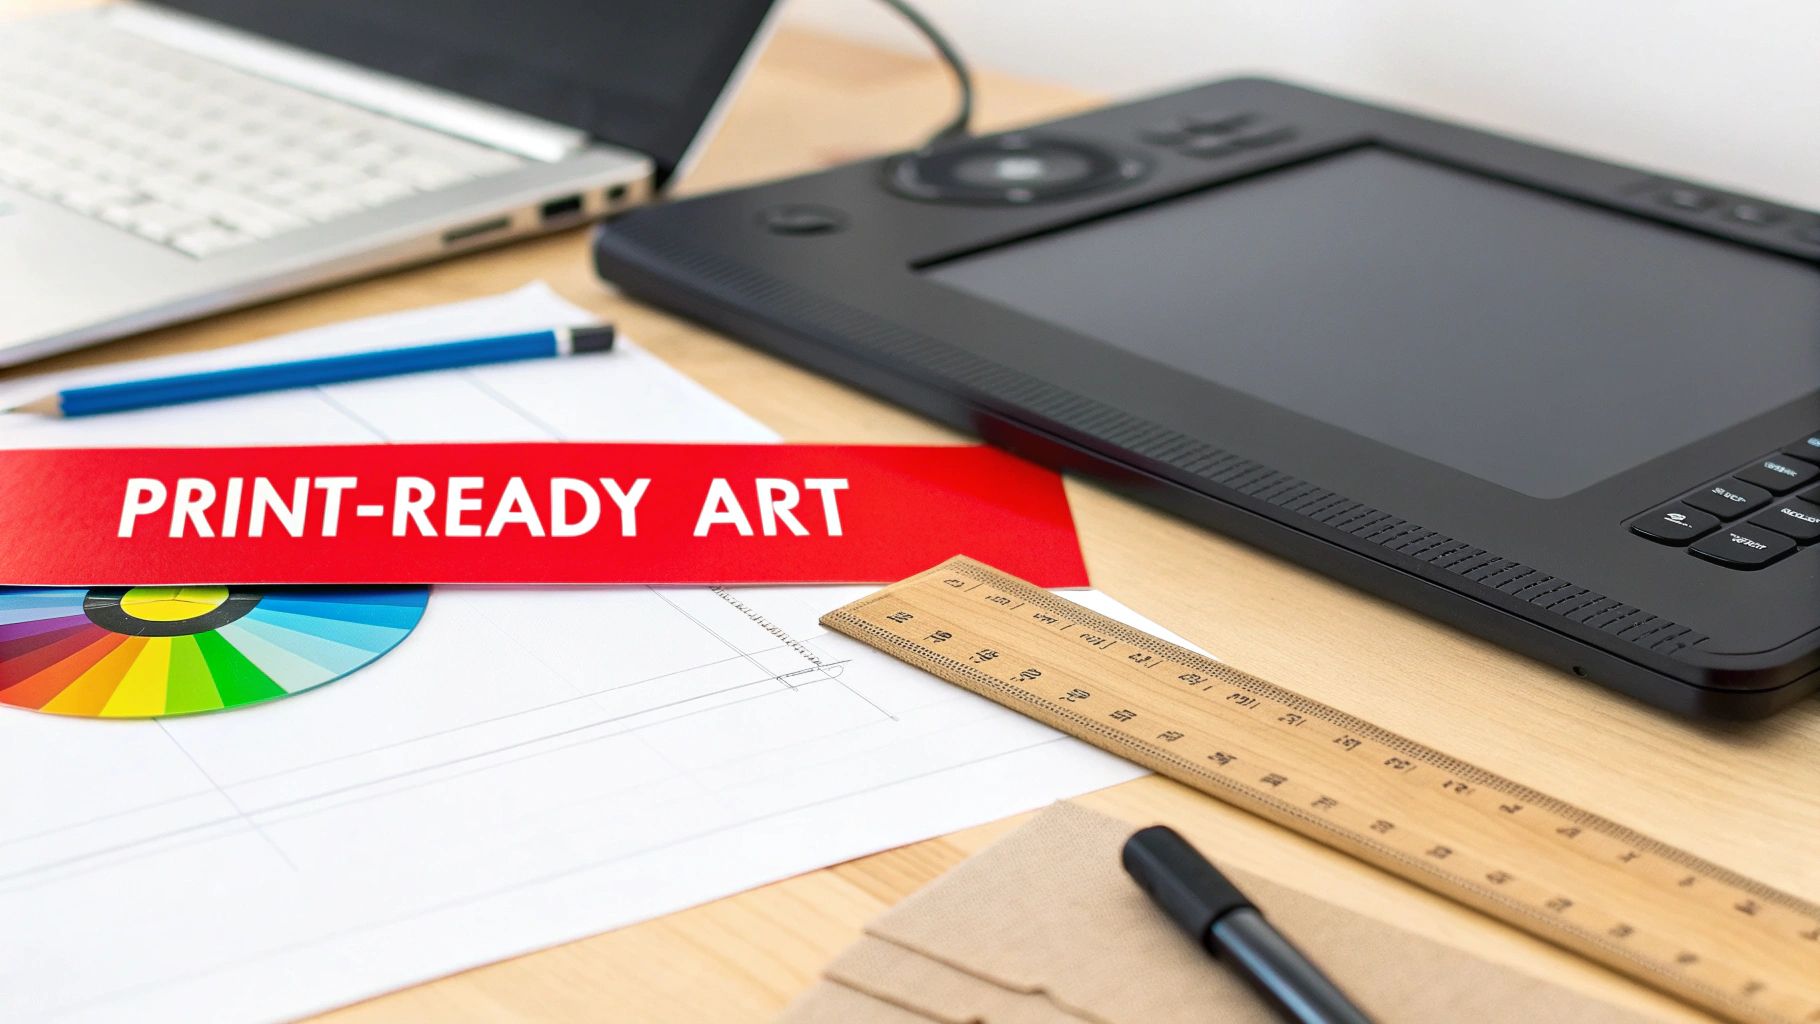
- Prepare Print-Ready Artwork: The design for your disc face, jewel case booklet, or digipak needs to be set up for professional printing. Most duplication companies provide templates to make this easy. You’ll want to design in CMYK color mode (for printing) and make sure your images have a resolution of at least 300 DPI to keep everything looking sharp and not pixelated.
- Submit Your Project: With your master and artwork files ready to go, you’ll upload them through the duplication service’s website. This is also when you’ll lock in the details of your order—how many copies you need, what kind of packaging you want, and where to ship them. Once you hit submit, their team takes over.
Behind the Scenes at the Duplication Facility
After you’ve sent your files, the real magic starts. Professional duplication facilities don’t just use a computer with a standard disc burner. They rely on automated systems that are built for speed, reliability, and consistency across every single copy.
The heart of professional CD duplication is all about automation and quality control. They use specialized towers, often called duplicators, that can burn dozens of discs at once from your master file. As they burn, they’re also constantly verifying that the data on each new disc is a perfect, bit-for-bit match to the original. No errors allowed.
This whole setup is engineered for both speed and precision. In fact, media production companies across North America and Europe are always refining their systems. We’re even seeing things like AI-powered quality checks making CD duplication more efficient than ever. You can actually dive deeper into these technological advancements in disc manufacturing if you’re curious.
Once all the discs are burned and verified, it’s on to the finishing touches.
- On-Disc Printing: Your artwork is printed directly onto the face of each disc. Depending on the service, this is done with high-resolution inkjet or thermal printers, which create a durable, professional finish that won’t smudge or fade.
- Packaging and Assembly: The printed discs are then matched up with your chosen packaging. This is also usually automated to ensure every booklet is inserted correctly into its jewel case or every disc is sealed neatly in its sleeve.
- Final Quality Check and Shipping: Before anything leaves the building, a final inspection makes sure the entire order is perfect. Then, it’s all carefully boxed up and shipped straight to your door, ready for your release party, conference, or mailing list.
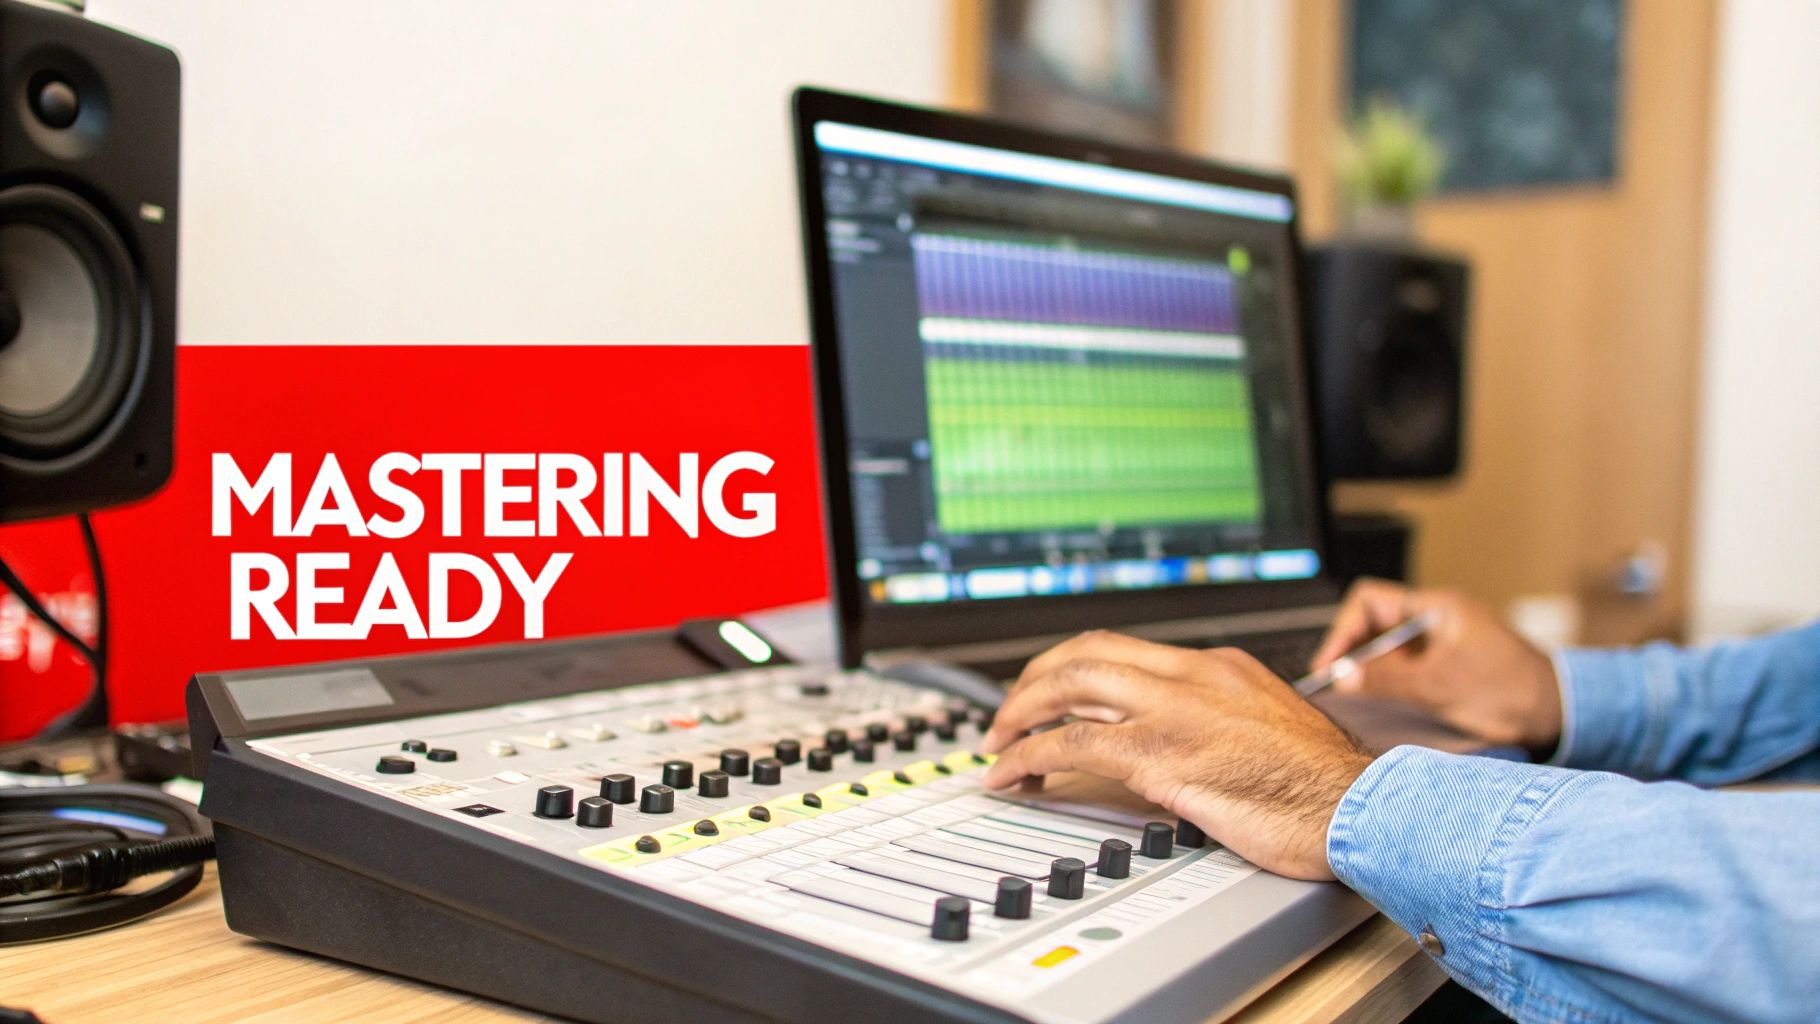
Preparing Your Master Audio for Flawless Copies
The final quality of your duplicated CDs comes down to one thing: the quality of the master files you send us. Think of it like a photograph. If you start with a blurry, low-resolution picture, no amount of fancy printing will make the final product sharp and clear. Your master audio is that original photograph—it has to be perfect from the start.
A flawless master ensures every single disc we burn sounds exactly how you heard it in the studio: crisp, powerful, and professional. It’s so easy to get excited and rush this step, but a little prep work here prevents a lot of disappointment later. This is where you set the bar for the entire project.
Why Professional Mastering Is Non-Negotiable
Mastering is that final polish, the last step where an audio engineer takes your mixed tracks and gets them ready for the world. It’s what transforms a collection of great songs into a cohesive, professional-sounding album. An unmastered track might sound fantastic in your studio but quiet or tinny in a car, a problem that CD duplication will simply lock in and copy a thousand times over.
Here’s what a professional mastering engineer does:
- Consistent Volume: They bring every track to a similar level of loudness, so your listeners aren’t constantly reaching for the volume knob between songs.
- Tonal Balance: They use equalization (EQ) to make sure your album sounds great on everything from cheap earbuds to a high-end stereo system.
- Proper Spacing: The timing is crucial. They set the perfect gaps between songs to create the right flow and feel for your album.
Skipping mastering is like trying to publish a book without a final proofread. You’ve put in all the hard work writing and recording; this is the step that makes it shine.
Getting the Technical Specs Right
Once your audio is perfectly mastered, it needs to be delivered in the right format. This is another common stumbling block. Sending low-quality MP3s or incorrectly formatted files will undo all the hard work from the mastering session. For the best CD duplication results, you have to stick to the industry standard.
The gold standard for a CD master is a 16-bit, 44.1 kHz WAV file. This is the native, uncompressed format for a standard audio CD (also known as “Red Book” audio). By providing files in this format, you guarantee that zero audio quality is lost in the process.
Even better, most duplication houses prefer to receive a DDP (Disc Description Protocol) image. A DDP is essentially a digital blueprint of your CD. It bundles all your audio files, track markers, metadata (like artist and song titles), and ISRC codes into a single, error-proof folder. It’s the most reliable way to hand off your master because it leaves absolutely no room for interpretation on track order, spacing, or text.
Your Pre-Submission Audio Checklist
Before you hit that “upload” button, take five minutes to run through this final checklist. It’s a simple habit that can save you the headache and cost of re-doing an entire run of discs.
- Listen One Last Time: Seriously. Play the entire master from beginning to end on a couple of different systems (headphones, car stereo, etc.). Listen for any weird clicks, pops, or digital noise you might have missed.
- Confirm the Track Order: Is every song exactly where it should be? Double-check that your file names reflect the correct sequence (e.g., 01_MyFirstSong.wav, 02_AnotherHit.wav).
- Check for Clipping: Make sure your audio levels never go “into the red” or exceed 0dBFS. Audio that “clips” sounds distorted and fuzzy, and this is a permanent flaw that can’t be fixed after duplication.
- Verify All Metadata: If you’re submitting a DDP, confirm every track title, artist name, and bit of info is spelled correctly. This is the text that will pop up on a listener’s CD player display.
Designing Artwork That Gets Noticed
Your CD’s artwork is the very first thing people will see. It’s the visual handshake for your entire project, setting the tone before a single note is played. A great design has to do more than just look good on a screen; it needs to be prepared correctly for a professional cd duplication service to ensure that what you designed is what you get.
This is where a little technical know-how goes a long way. We’re not talking about anything overly complex, just a few key printing concepts that are absolutely vital for a flawless final product. Getting these details right from the start will save you a ton of headaches, time, and money down the road.
Translating Your Vision to Print
To make sure your design prints perfectly, you have to speak the printer’s language. This really just boils down to three core concepts that every professional in the duplication world lives by.
- Color Mode (CMYK): Here’s a simple but crucial difference: your monitor uses light (Red, Green, Blue – RGB) to create colors, while printers use ink (Cyan, Magenta, Yellow, Black – CMYK). If you design in RGB, the colors will shift when printed, sometimes dramatically. Always start your design in CMYK mode to see a true representation of the final colors.
- Resolution (300 DPI): DPI, or “Dots Per Inch,” is all about image sharpness. Images on the web look perfectly fine at 72 DPI, but that same resolution will look blurry and pixelated in print. For professional results, your artwork must be at least 300 DPI. No exceptions.
- Bleed: A “bleed” is a small safety margin that extends your artwork just beyond the final cut line. Think of it as a buffer. Paper can shift ever so slightly during the cutting process, and a bleed ensures you won’t get any unsightly white edges on your finished booklet or tray card. It guarantees a clean, edge-to-edge print every time.
Pro tip: Most duplication services, including Mixtape Duplication, offer downloadable artwork templates. I highly recommend using them. They take all the guesswork out of the equation by pre-setting the correct dimensions, bleed areas, and safety zones.
Choosing the Right Packaging
The packaging you pick does more than just protect the CD—it defines the entire feel and perceived value of your release. Each option brings a different aesthetic, level of durability, and, of course, a different price tag.
Think about your project’s goals. Are you creating an affordable promo item to hand out at shows, or are you crafting a premium collector’s edition for your die-hard fans? The right package makes your project feel complete.
Common CD Packaging Options Compared
Here’s a quick look at some of the most popular CD packaging formats to help you find the perfect match for your project.
| Packaging Type | Best For | Durability | Cost Level |
|---|---|---|---|
| Jewel Case | Classic albums, retail-ready projects, maximum protection | High | $$ |
| Digipak | Premium look, eco-friendly feel, creative panel designs | Medium | $$$ |
| Jacket/Sleeve | Promotional giveaways, singles, budget-conscious projects | Low | $ |
At the end of the day, the classic Jewel Case is the industry standard for a reason; it’s tough and has plenty of room for a multi-page booklet. A Digipak offers a more modern, eco-friendly vibe with its sturdy cardstock and extra printable surfaces for creative designs. And if you just need something simple and affordable for a demo or single, the cardboard Jacket or Sleeve is the perfect, budget-friendly choice.
So, Why Should You Choose CD Duplication?
Knowing how CD duplication works is great, but understanding why it’s often the perfect choice is what really matters. It’s not just about burning files to a disc; it’s a smart strategy built on speed, affordability, and control, especially when you’re working with smaller quantities.
Think about it this way: your band just scored a last-minute opening gig for a huge artist. You need merch, and you need it fast. This is where duplication shines. You can get professional-looking CDs ready for the show in just a couple of days.
Unbeatable Speed and Turnaround Time
CD replication is a big production. It involves creating a glass master and setting up a whole manufacturing line, which can easily take a few weeks. Duplication, on the other hand, is a direct burn-to-disc process. It cuts out that long setup time, making it the go-to option when you’re up against a deadline.
This speed means you can be incredibly responsive. Did your first batch of 100 discs sell out at the first show? No problem. You can order another small run just as quickly and keep the momentum going without missing a beat.
Cost-Effectiveness for Small Batches
This is probably the biggest win for most people. Duplication is incredibly budget-friendly for smaller orders, which we typically define as anything under 500 units. Since there’s no expensive glass master to create, the upfront cost is significantly lower.
The best way to think about the financial side of duplication is that it’s “pay-as-you-go.” You aren’t forced to commit to a massive, risky order just to get a decent price per disc.
This model is a lifesaver for independent artists, small businesses, or anyone who wants to test the waters with a new album or product without sinking their entire budget into inventory. It keeps your cash free and prevents you from ending up with thousands of discs collecting dust in a closet.
Flexibility and Low-Risk Inventory
The ability to order in small batches gives you amazing flexibility. You can produce just enough CDs for a specific weekend festival, test market a new EP without a huge financial gamble, or frequently update training materials without throwing out a pile of old, outdated discs. That kind of agility is a huge advantage.
Even with the rise of digital, the demand for physical media in certain areas is strong. The related market for DVD duplication, for instance, is projected to hit USD 1.85 billion. This shows that people still value physical products for promotion and entertainment, especially when they need that quick, flexible production. You can read more about the physical media market’s continued strength and see how this trend benefits smaller, targeted runs.
Ultimately, this low-risk model lets you stay nimble and adapt to whatever comes your way.
Common Questions About CD Duplication
As we wrap things up, you probably have a few last questions before kicking off your project. That’s completely normal. The world of CD duplication has its own lingo and quirks, but it’s all pretty straightforward once you know what to look for. This section is designed to give you quick, clear answers to the questions we hear most often.
Think of this as your final pre-flight check. We’ll cover practical stuff like order sizes and timelines, touch on the super-important legal side of things, and break down the different ways to print on a disc so you can choose the perfect look for your project.
How Many CDs Do I Have to Order?
This is one of the best parts about duplication—its flexibility. A lot of people think they need to commit to a massive run of hundreds of discs, but that’s a myth.
For most professional duplication services, the minimum order is incredibly low. You can typically get started with as few as 25 or 50 discs. This makes it a fantastic option for smaller, focused projects, like:
- Tour Merch: Pressing a small batch of EPs to sell at a weekend gig.
- Promo Mailings: Sending your demo to a hand-picked list of labels or radio stations.
- Personal Gifts: Creating custom mixtapes for a wedding or anniversary party.
This low entry point means you can create something that looks totally professional without a huge upfront investment. It’s perfect for testing the waters or just keeping your inventory lean.
How Long Does CD Duplication Take?
Speed is the name of the game with duplication. Because the process doesn’t require creating a glass master like replication does, the whole timeline gets a lot shorter. The exact timing can shift a bit based on your packaging choices and how many you order, but you can count on a pretty quick turnaround.
For most standard orders under 500 copies, expect your finished CDs to be on their way to you within 3 to 5 business days after you’ve signed off on the master disc and artwork proofs. It’s a lifesaver for projects with a tight deadline.
Do I Need to Own the Rights to My Content?
Yes. Absolutely. This is the one area where there’s no wiggle room. You must either own the copyright to the audio and artwork you’re submitting or have clear, written permission from whoever does.
Any reputable duplication company will have you sign an agreement confirming you have the legal right to reproduce everything. This is standard practice and protects everyone involved—you, the duplication service, and the original creators.
What Is the Difference Between Thermal and Inkjet Printing?
The artwork printed directly onto your CD is its face to the world. In CD duplication, the two most common methods for this are thermal and inkjet printing, and they each have a unique look and feel.
- Inkjet Printing: This works a lot like the printer you have at home, spraying tiny droplets of ink directly onto the disc. It’s fantastic for printing detailed, full-color photos and designs with smooth color gradients. The standard finish is matte, though a glossy topcoat can be added.
- Thermal Printing: This method uses a heated printhead to transfer ink from a ribbon onto the CD. The result is a tough, waterproof, and scratch-resistant print that has a glossy, “baked-on” look. It really shines with bold text and solid blocks of color.
So, which one is for you? It really comes down to your artwork. If you have a detailed photograph, inkjet will capture it beautifully. If your design is more about bold graphics and you want a super durable finish, thermal is probably the way to go.
Ready to get a professional-quality CD project off the ground without the stress of a huge order? Mixtape Duplication offers fast, reliable CD duplication with beautiful on-disc printing and tons of packaging options. We’re here to help you bring your project to life.